Christmas Sugar Cookies + How to Paint Watercolor Cookies

There is always a faint trace of wonder in the air during the holidays. It could be the fairy lights that are so often strung up on every corner or the Christmas music that drifts from the store windows. Or is it farther in the shops? With the busy chatter of people moving to and fro each store gathering all the necessities for the holidays. Either way, the Christmas rhythm is unique and one that I wait for all year long even as an adult.
With all of the abundant seasonal treats, it’s hard to choose a favorite but I do really love a classic usually intricately designed cut out sugar cookie (they can be so beautiful!). There’s something very nostalgic about these kinds of cookies. When l was in high school, baking and giving away sweets was practically tradition. Once December arrived, backpacks would be full of different treats including sugar cookies in all different shapes and colors.

This recipe is an update if you will. A revamp of all my past sugar cookie encounters. I wanted a cookie that was buttery soft with crisp edges. Paired with a frosting that isn’t too icky sweet, thick or hard to the point that biting into it would be an ordeal. So this cookie dealt with all of that. I may have added a good amount of butter (for the buttery flavor surely and for that soft cookie). Splashed in more than the necessary amount of vanilla. Added salt to the icing for balance and voila! It’s a hit folks!
Just A Few Tips
- I find that vegan butters tend to have different hydrations which affects the consistency of the dough. Start with 2¼ cups (270g) flour then if you find that the dough is not coming together or it’s too sticky, add in the additional ¼ cup.
- When painting on the cookies, make sure that you lightly dab your brush into the colors. A brush that is too wet will soften the icing causing it to break and your designs to get blotchy.
- Use high quality food coloring to achieve the most vibrant colors and to prevent the colors from bleeding into each other.
- Use a light hand and slim brushes for creating the watercolor designs. It’s also useful to have a few brush shapes like a flat one (for the leaves of the tree) and a round tip (for making perfect circles).
- Totally optional but having a paint palette is super useful for mixing and matching colors.

Christmas Vanilla Sugar Cookies
Ingredients
Sugar Cookie Dough
- 1 tbsp flaxseed
- 3 tbsp water
- 325 g (2½ cups) all purpose flour* sifted
- ½ tsp baking powder
- ¼ tsp salt
- 160 g (¾ cup) white sugar
- 150 g (¾ cup) vegan butter softened
- 2 tsp vanilla extract
- ½ tsp almond extract optional
Icing
- 240 g (2 cups) confectionary sugar sifted
- 5-8 tsp plant based milk
- ½ tsp vanilla optional
- pinch of salt
- food coloring
Instructions
Sugar Cookie Dough
- Preheat oven to 350°F (180°C). Line 1-2 baking sheets with parchment paper then prepare two separate parchment paper sheets (about the 11"x15" in size) for rolling out the dough later.
- In a small bowl, mix the flaxseed with the 3 tablespoons of water and set aside. Meanwhile, combine the flour, baking powder and salt in another bowl.
- In the bowl of a stand mixer fitted with the paddle attachment, cream the butter and sugar until light and fluffy, 3-5 minutes. Pour in the flax egg and the extracts and mix. Slowly add in the flour mixture on low speed until a cohesive dough has formed.
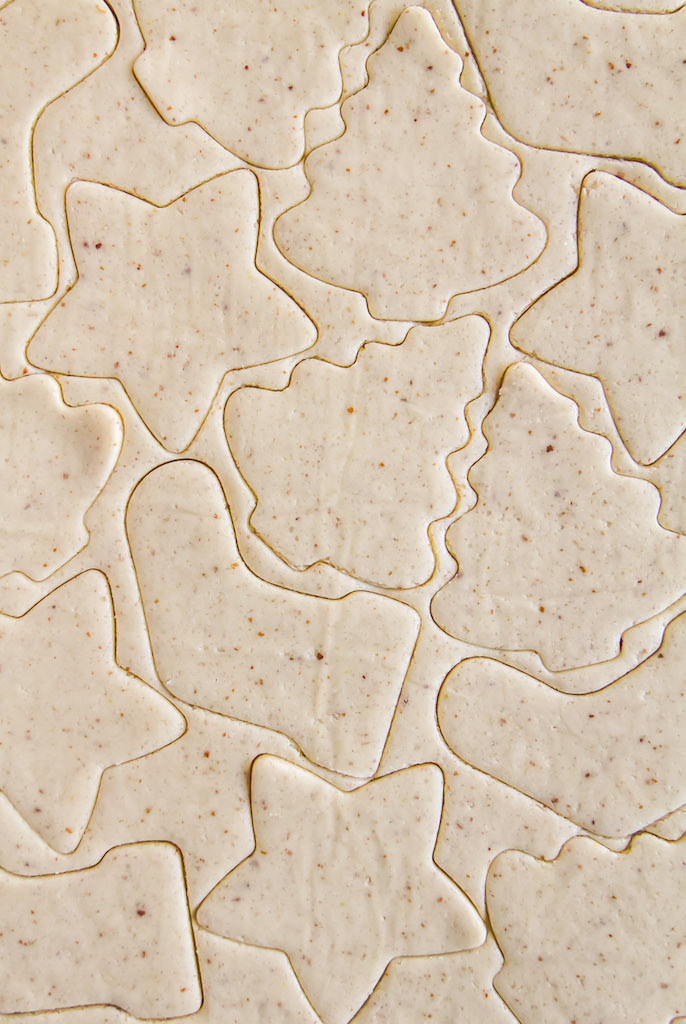
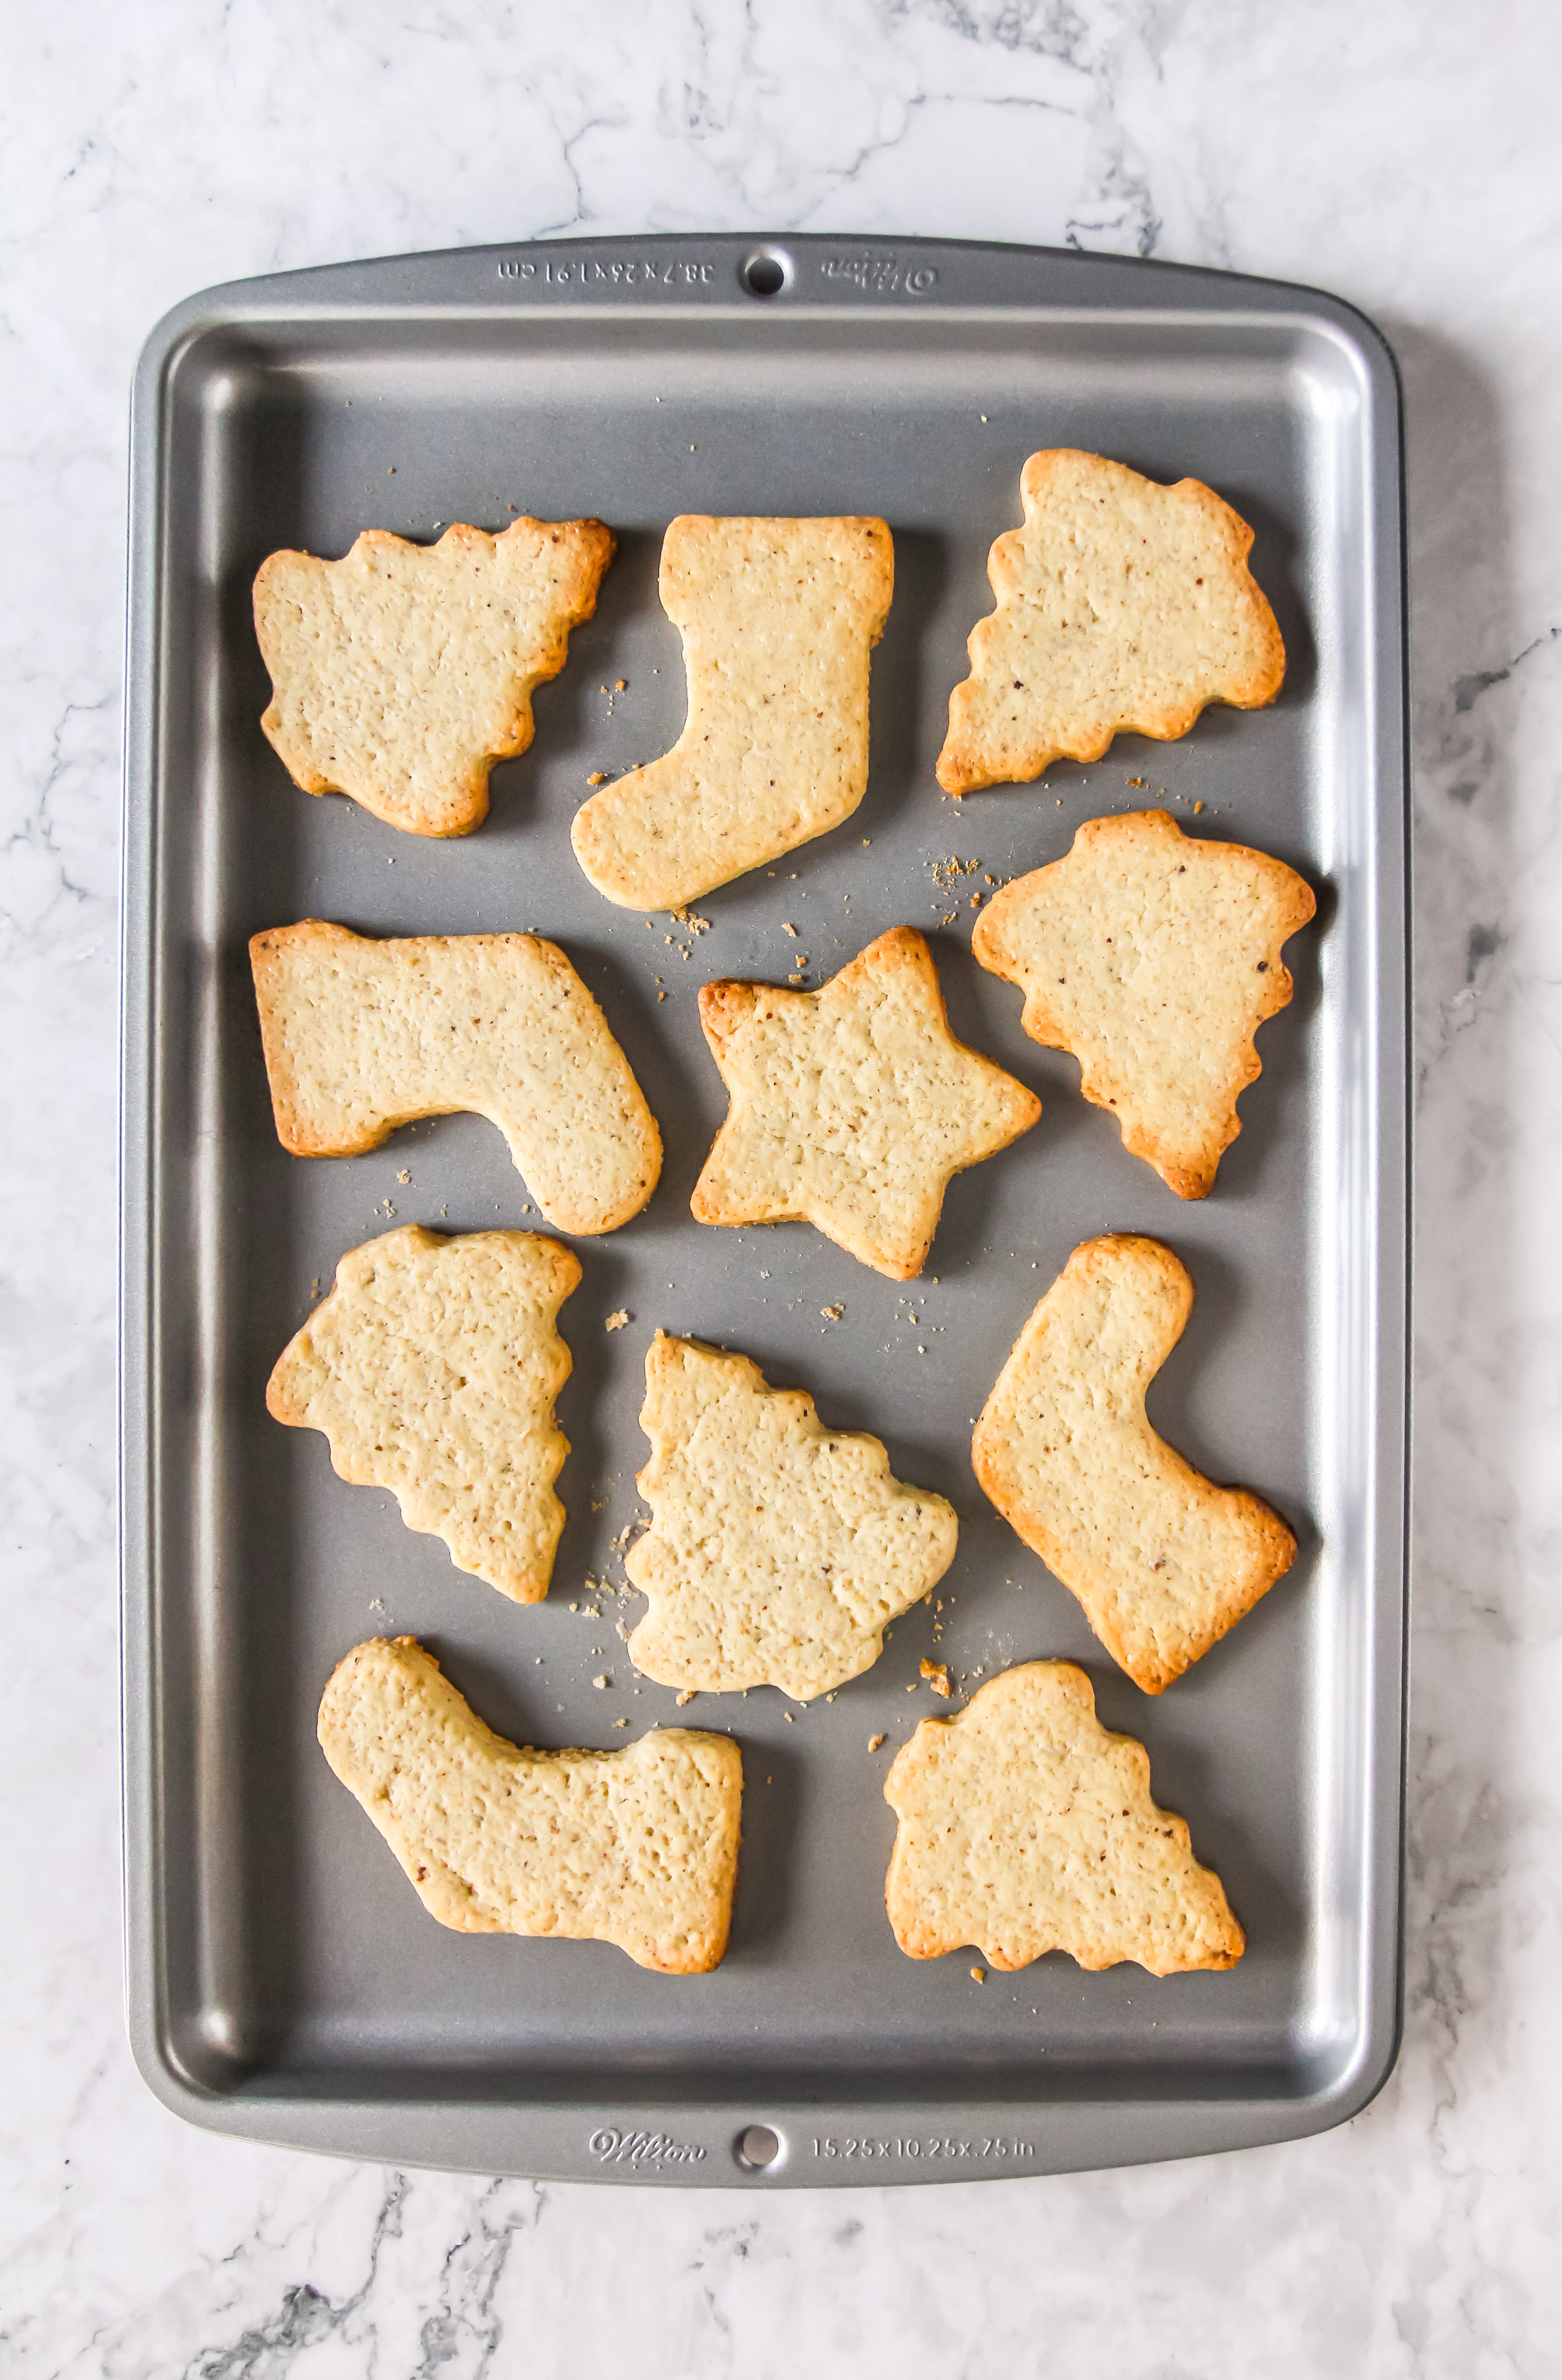
- Plop the dough onto one of the prepared parchment paper sheets, flatten and shape quickly into a rough rectangle. Place the other paper over the dough (this makes rolling super neat) then roll out until ¼" thick. Chill the rolled out dough for 15 minutes in the freezer. Once cool, cut out shapes with your favorite cookie cutters and lay the cookies on to the baking pan. Rerolling the excess dough to make more cookies. If your dough gets too soft, place back in the freezer for a few minutes to solidify. Bake for 10-15 minutes or until the cookies have browned slightly at the edges. Leave to cool before decorating.
Icing
- Using a whisk, combine all the icing ingredients except for the food coloring, starting with 5 teaspoons of milk then adding more if the icing is too thick. Get ⅓ of the icing to use for outlining the cookies sort of like creating a dam. This icing will be on the thicker side (this is usually 6-7 tsp of milk for me). The remaining ⅔ will be the "flood" icing to fill in the cookies after outlining. This frosting will be thinner and more drippy (I use 8 tsp here). Add in the food coloring if using.
- Transfer the thick icing to a piping bag with a Wilton tip 2 or 3 then make sure to cover the unused/left icing with a damp paper towel to prevent it from drying out. Start outlining the cookies. When done, fill your piping bag with the "flood" icing then flood each cookie, using a toothpick to nudge the icing if there are any gaps.
Watercolor Design
- Once the icing has entirely dried on the cookie, lightly dip a paint brush to your chosen food coloring. Use the clear vanilla as your "water" if you need to thin out the coloring. Proceed to paint your design on to the cookie using light strokes. Leave the paint to dry. Serve and enjoy!
Notes
Some items you might need
Disclosure: As an Amazon Associate I earn from qualifying purchases meaning if you use a link to buy something, I may get a commission. All opinions are my own and I only recommend products that I would buy/use myself. Thank you so much!





[…] of new cookies to the round up this year. Of course, there’s the classic chocolate chip and sugar cookie but I’m definitely looking into doing alfajores or lace cookies sandwiched with the darkest […]